
Nature Scavenger Hunts: Turning an Ordinary Walk Into an Adventure
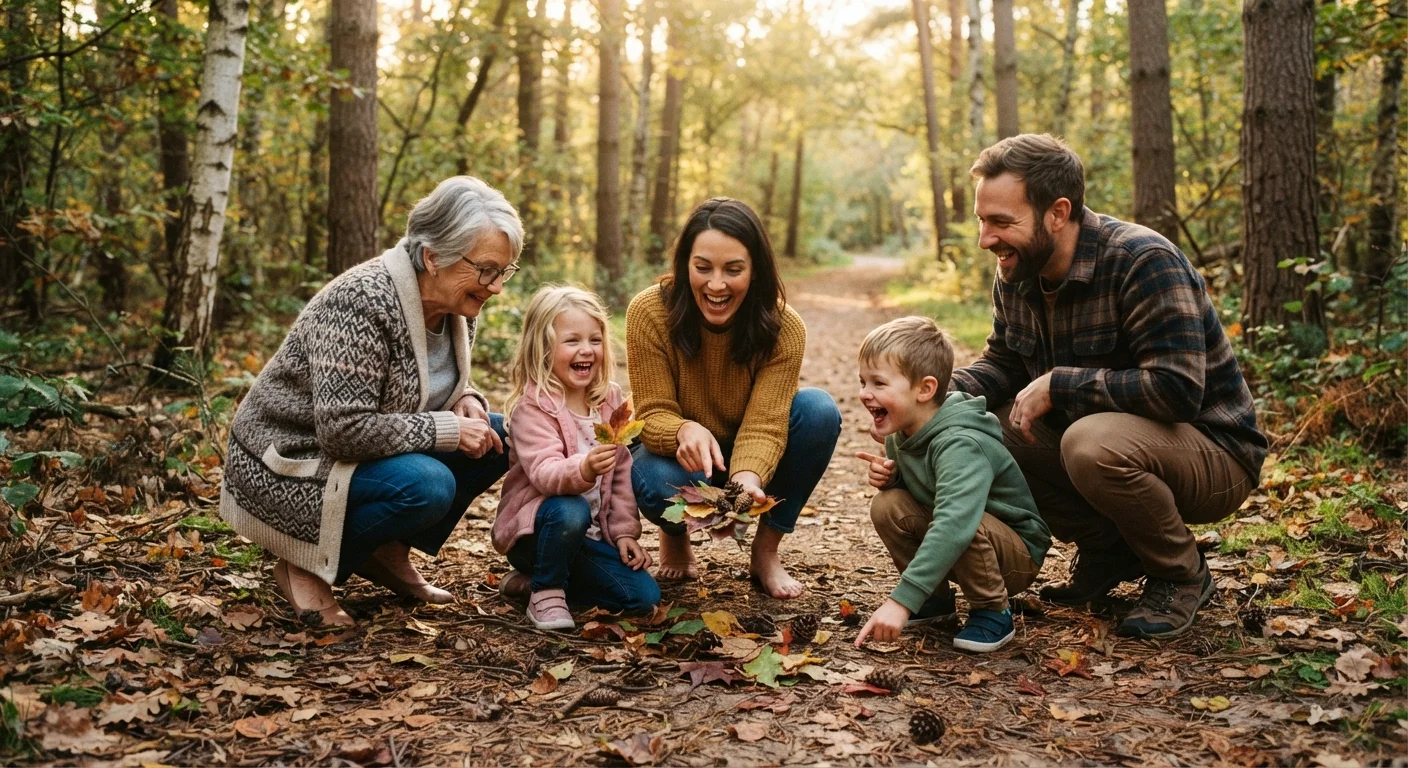
Photo credit: featuredbuzz.com
In this article
Learn how to design a nature scavenger hunt tailored to your kids' ages, your local environment, and the season, with no special gear required.
Key Takeaways
- A nature scavenger hunt requires no purchased materials and works in any outdoor setting.
- Tailoring the list to your kids' ages keeps younger children engaged and challenges older ones.
- Seasonal and location-specific items make each hunt feel fresh and genuinely different.
- Simple observation goals teach kids to slow down and look carefully at their surroundings.
- A brief debrief after the hunt extends the learning and gives kids a sense of completion.
Why a scavenger hunt changes how kids experience a walk
Most kids who drag their feet on a neighborhood walk or trail hike are not bored with the outdoors. They are bored with walking as a goal in itself. Give them a list of things to find and the same path becomes a puzzle. Their eyes drop to the ground, scan tree bark, and study puddle edges in ways they simply would not otherwise.
The structure a scavenger hunt provides is light. There are no scores, no timers, and no equipment to haul. What it does is give children a reason to pay attention, and that attention is where the real benefit sits. Kids start noticing the difference between a smooth stone and a pitted one, or which leaves have jagged edges versus smooth ones. That is genuine science observation, and it costs nothing.
If your family already uses your local park system for free outings, a scavenger hunt is one of the easiest ways to add variety without planning a whole new activity. The same trail you walked last month feels different when everyone is searching for something specific.
What you need before you go
The prep time is short. A pencil and a piece of paper are enough for most hunts. If you want something reusable, a laminated card and a dry-erase marker work well across multiple outings. For younger children who cannot read yet, simple drawn symbols or printed images replace words on the list.
Decide before you leave whether kids will collect physical items or just check things off by sight. Collection works well for fallen leaves, acorns, or smooth pebbles. Observation-only is the right call for birds, insects, spider webs, or anything that belongs where it is. Make that rule clear at the start so no one pulls bark off a tree or disturbs a nest.
What you will need
For families who want to fold this into a full day outside, the zero-cost family day planning guide has a practical framework for building several activities around a single outing.
How to build a list that actually works
The best scavenger hunt lists are specific enough to require real looking but broad enough that most items appear in your area. Avoid vague entries like "something interesting" because kids will grab the first thing they see and stop searching. Avoid overly rare items too, since a list with nothing checked off kills momentum fast.
Age matters here. A child around four or five years old does well with color and shape categories: find something yellow, find something with bumpy texture, find something round. Children around eight to ten can handle categories that require comparison or inference: find a leaf that is bigger than your hand, find evidence that an animal has been here, find something that was alive and is now dead. Teenagers often respond well to a photography version, where they use a phone camera to document each find rather than carrying anything.
Seasonal specificity is your strongest tool for making each hunt feel new. A winter list might include animal tracks in mud, bare seed pods, or moss on rocks. A summer list works with cicada shells, seed heads gone to fluff, or the shadow of a cloud. This also connects naturally to backyard camping nights, where a twilight scavenger hunt in your own yard can become part of the evening.
Choose your location and note what is there
Walk or think through your planned location before writing the list. A neighborhood sidewalk, a city park, a woodland trail, and a beach all have different available items. Your list should reflect what is actually present, not what you hope might be there. A quick five-minute mental walkthrough prevents frustration on the day.
Write the list at the right difficulty level
Aim for 8 to 12 items for most ages. Fewer than 8 and the hunt ends too quickly; more than 15 and younger kids lose interest before finishing. Mix easy finds (something green, a straight stick) with two or three genuinely tricky ones (an insect, a bird feather, two different types of bark texture). The harder items give older kids something to work toward while younger siblings stay satisfied with the easier checks.
Set the ground rules before you start
Tell children which items they can pick up and which they should only observe. Reinforce that living animals, nests, and fungi attached to trees stay where they are. If you are in a protected park or natural area, collecting anything may be prohibited, so check posted rules or the park's website before your visit. Keeping these boundaries clear protects the environment and avoids a last-minute conflict mid-hunt.
Head out and let kids lead the search
Hand each child the list (or a shared list for very young children) and let them set the pace. Resist the urge to point things out. When a child finds an item independently, that discovery carries more weight than one an adult flagged for them. Your job on the walk is to ask questions, not provide answers: "What made you pick that up?" or "Where else might we find something like that?"
Debrief and document findings
After the hunt, spend a few minutes reviewing what the group found. If kids collected items, spread them out and look at them together. You can sketch the finds in a simple notebook to start a nature journal, or take one photo of the collection before returning anything to the ground. The debrief does not need to be long; even three to four minutes of conversation reinforces what kids observed and gives the activity a clear ending point.
After the hunt: making the experience stick
A five-minute conversation at the end of the walk does more than most parents expect. Ask each kid which item was hardest to find and why they think that is. Ask if anything on the list surprised them. These questions are not a quiz. They push kids to put language around what they observed, which is how short-term experience becomes something they actually remember.
If kids collected physical items, a simple arrangement at home, pressed leaves between book pages or a small tray of stones sorted by color, gives the outing a visual ending. Nothing needs to be kept permanently. The act of sorting and arranging is itself satisfying.
For families who want to contrast this structured approach with something more open, research on unstructured play is worth a read. Both approaches have real value, and alternating between them keeps outdoor time from feeling like a routine. On days when weather shuts everything down, indoor rainy-day activities can carry the same spirit of looking and discovering without stepping outside.

Author
Free Family Fun Editorial Team
Free Family Fun Editorial Team is the collective byline for our editorial team and contributor network. Articles published under this byline or an editorial pen name are researched, written, and reviewed according to our editorial standards for clarity, consistency, and independence before publication.
View all articles →